
Crankset and Cassette Installation
- Feb 10, 2023
- 2 min read
The crankset and cassette are the parts with the gear cogs: crankset in the front and cassette in the back. The crankset also includes crank arms and pedals, as well as a set of bearings (called a “bottom bracket”) that allows your crankset to spin.
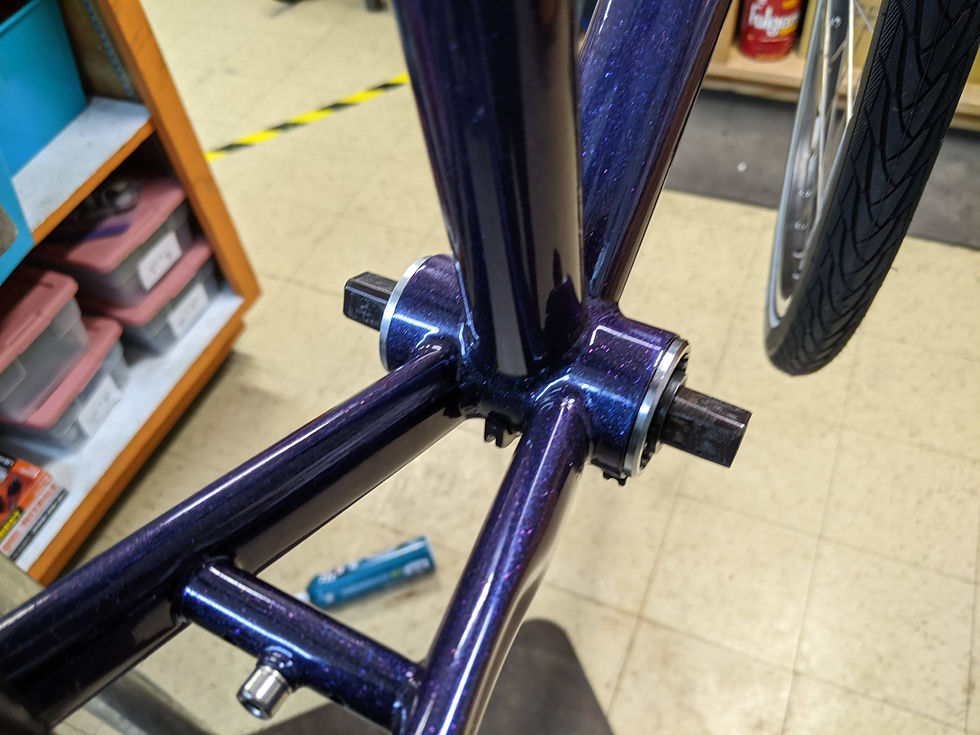
First on the agenda is the bottom bracket. There are a billion different types of bottom brackets, but I’m going with a threaded cartridge-style bottom bracket with a square taper attachment. This is the bottom bracket from my old bike. I installed it a few years ago, and these bearings last a long time. I was glad that this part fits on the new bike too.

Installing the bottom bracket is quite simple, just need to screw it in on both sides. The bottom bracket cartridge is reverse-threaded on one side. The threads are designed so that forward pedaling will tighten the threads, not loosen them. Once it’s on the bike, I used a torque wrench to fully tighten it to the correct amount of torque: enough to secure it without damaging the threads.
Next, the crankset. I got a crankset that already has crank arms attached. This is a pretty basic triple crankset, designed for a mountain bike. Mountain bikes tend to have low gearing, which means that the smallest cog is pretty small, allowing you to pedal at really low speeds. Touring bikes tend to have similar gearing to mountain bikes, which allows you to slowly pedal uphill while your bike is fully loaded with stuff. I also like that it allows me to pedal up really steep hills if I’m feeling particularly masochistic. My crankset has 22 teeth on the smallest cog and 42 teeth on the largest cog.

To install the crankset, I simply slid the crankset onto the bottom bracket, and then screwed in the bolt. Again, I used a torque wrench to secure it. On the opposite side, I slid on the crank arm and tightened and torqued the bolt. (I don’t have any pedals yet, because I’m deciding if I want to re-use my old ones or get some fun brightly-colored pedals.)

The cassette is the set of gears on the rear wheel. I got a pretty basic 9-speed rear cassette. Again, I opted for low gearing, so I could ride the bike at slow speeds. Counterintuitively, the largest cog on the rear cassette is the one that will go the slowest. My cassette has 32 teeth on the largest cog and 11 on the smallest cog. My old bike had 28 teeth on the largest cog, so I’m looking forward to a slightly lower gear range on this bike.

To install the cassette, I simply slid the cassette onto the rear wheel and then tightened the plastic lock nut to hold it in place.

And that’s it! Next time I’ll get into the derailleur system, which are the parts that move your chain to different cogs when you pull a shift lever. Endless thanks to Camden Cycles for letting me use their space and tools for this project!


Comments